20–35L Expandable Waterproof Trunk Bag for MTB & Road
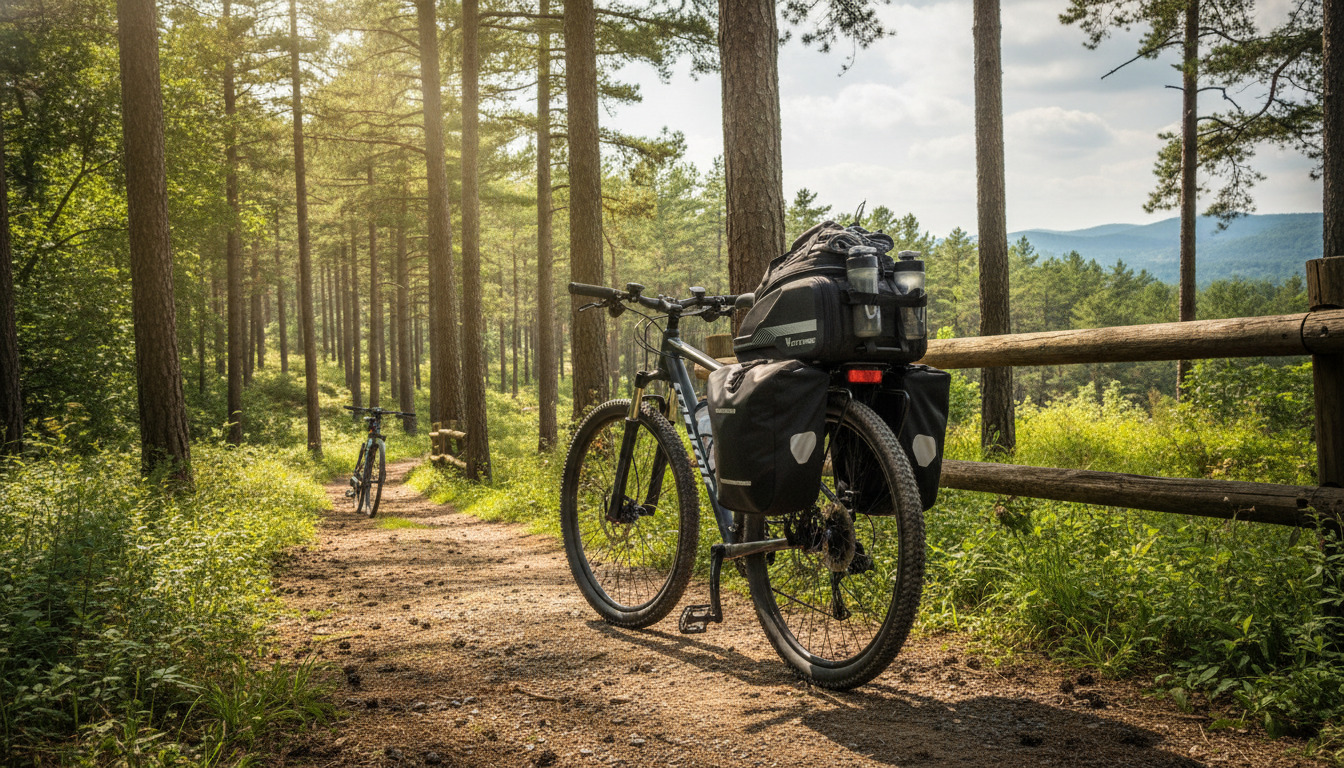
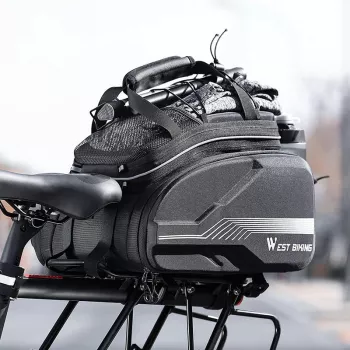
Expandable Waterproof Bike Trunk Bag 20–35L for MTB & Road Cycling
A rack-top trunk bag that expands from 20L to 35L can cover everyday rides, long training loops, and all-weather errands without forcing a backpack. The right setup helps you plan capacity, keep gear dry, and prevent the annoying sway and rattles that show up when loads aren’t centered or secured—especially when switching between MTB and road bikes.
What an expandable rack-top trunk bag solves
An expandable trunk bag is a practical middle ground between “stuff it in a jersey pocket” and full panniers. By moving cargo to the rear rack, weight stays low and centered on the bike instead of on your shoulders, which can reduce sweat and back strain on longer rides.
The expandability also shines on variable-load days: keep it compact for essentials, then unzip or unfold extra volume for a warm layer, extra food, a small lock, or a quick grocery stop. Many riders also prefer trunk bags for their built-in organization—separated compartments help keep repair gear away from electronics and keep clothing from picking up chain-grease odors.
Capacity planning: 20L vs 35L in real-world packing
The difference between 20 liters and 35 liters isn’t just “more room.” It changes how stable the bike feels and how easy it is to find what you need without unpacking everything on the roadside.
20L: the sweet spot for most rides
For many road and trail sessions, 20L is plenty: multi-tool, mini pump or CO₂, tube/tubeless plugs, a light jacket or vest, snacks, phone/wallet/keys, and light gloves. With the bag kept compact, there’s less material to flap in the wind and less leverage to sway on rough terrain.
35L: expanded for long days and errands
At 35L, you can comfortably add bulkier layers, a compact lock, extra water, a camera, sandals, a larger lunch, or a few grocery items. The key is to avoid turning the expanded space into a loose “stuff sack.” Use compression straps, small packing cubes, or dry pouches so items don’t shift when you stand to climb or when the trail gets chattery.
| Ride scenario | Pack list | Recommended volume setting |
|---|---|---|
| 2–3 hour road ride (variable weather) | Wind shell, arm warmers, snacks, tube/patch kit, mini pump, phone wallet keys | 20L |
| MTB trail day + post-ride layer | Light jacket, gloves, first-aid basics, tube/tubeless kit, multi-tool, headlamp | 20L (expand if adding bulkier layer) |
| Commuting with small errands | Lunch, spare tee, charger, compact lock, rain cover, tools | Expand toward 35L |
| All-day mixed terrain | Extra layers, food, larger tool kit, spare lights, small camera | 35L |
For handling, place heavy items (tools, lock, batteries) closest to the rack and centered. That reduces tail-wagging on climbs and keeps the bike more predictable through corners.
Water protection that holds up on the road and trail
Waterproofing comes down to two vulnerable zones: the outer fabric and the seams/zippers that face steady rain and wheel spray. Even when a bag is rated waterproof, prolonged downpours can still find weak points—especially around zipper tracks and stitching.
For longer wet rides, pack electronics and spare clothing inside separate dry pouches. This adds a second line of defense and makes it easier to keep “wet” and “dry” items separated when you open the bag mid-ride. Also pay attention to zipper placement: top-mounted zippers are typically more exposed than covered, inverted, or hooded designs.
After a rainy ride, open the compartments at home and let everything dry fully. This helps prevent odor and protects coatings and liners over time. For broader packing and gear-prep guidance, REI’s cycling resources are a solid reference: https://www.rei.com/learn/expert-advice/cycling.html.
Mounting, stability, and rack compatibility
On road bikes, keep the bag centered and as low-profile as practical to reduce crosswind effect. Also watch for heel strike if side pockets expand outward. If you’re troubleshooting fit or adjusting a rack, Park Tool’s repair help is a trustworthy starting point: https://www.parktool.com/blog/repair-help.
Access and organization for faster stops
Fit tips for MTB vs road cycling
MTB setup
Road setup
Quick test ride checklist
Care, maintenance, and longevity
If the outer fabric begins to “wet out” (water stops beading and the surface looks saturated), reapply a water-repellent treatment according to the product instructions. For general rider safety and education resources, PeopleForBikes offers helpful materials: https://www.peopleforbikes.org/.
Shop in-stock picks
- Expandable Waterproof Bike Trunk Bag 20–35L for MTB & Road Cycling
- 23-Piece Professional Makeup Brush Set
- Elevated Ceramic Pet Bowl with Solid Wood Stand
FAQ
Will an expandable trunk bag fit most rear racks?
Most fit standard rack-top platforms as long as the base sits flat and the straps can reach secure attachment points. Before riding, confirm the bag won’t overhang into the rear wheel on bumps and that you still have heel clearance while pedaling.
Is a waterproof trunk bag enough for heavy rain?
Waterproof materials help a lot, but prolonged downpours and wheel spray can still penetrate at seams or zippers over time. For best protection, keep electronics and spare clothes in separate dry pouches and fully dry the bag after wet rides.
Does a trunk bag affect handling on climbs or technical trails?
Yes—any rear load changes balance, especially when it’s high or allowed to sway. Keep heavy items low and centered, avoid over-expanding on technical terrain, and tighten all straps so the bag stays stable through bumps and corners.













Leave a comment