Non‑Latex Makeup Sponge + Box: Cleaner, Smoother Blend
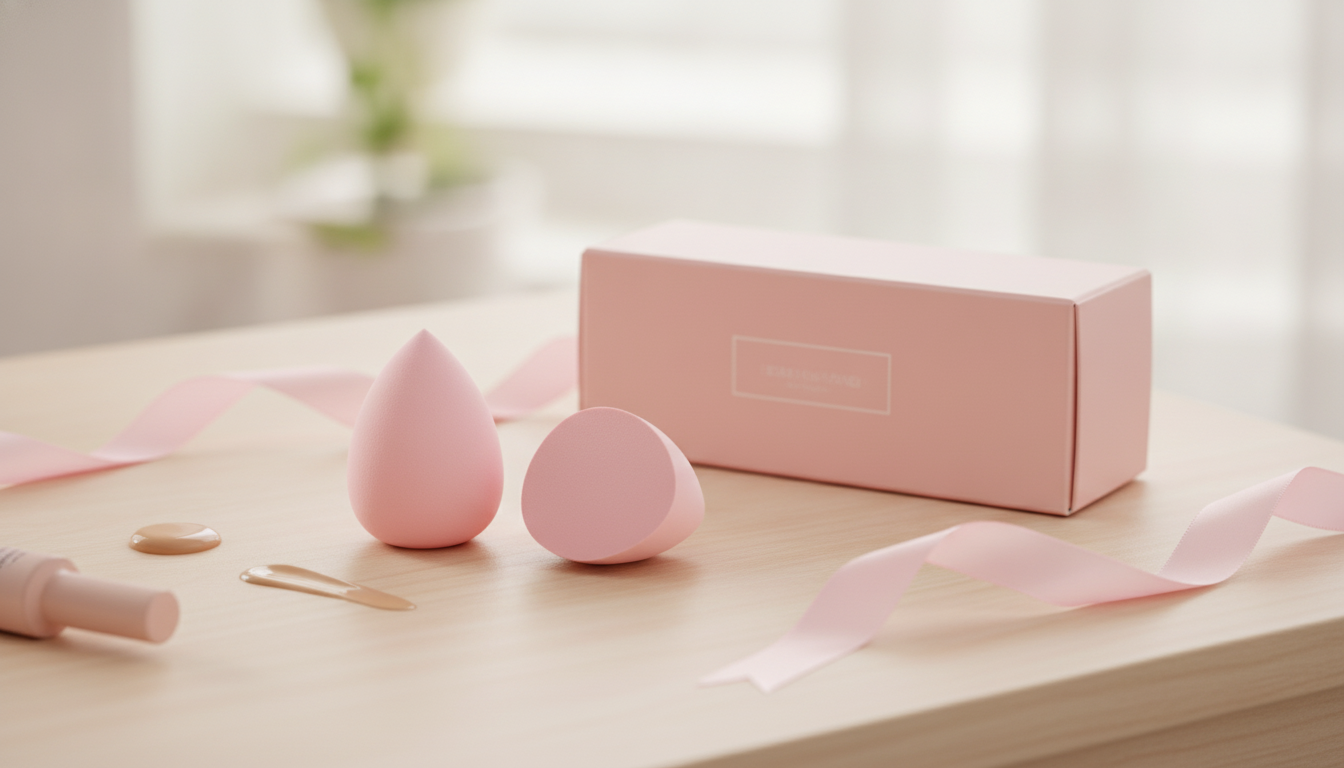
Non-Latex Makeup Sponge with Box: Smooth Blending, Cleaner Storage
A non-latex makeup sponge paired with a protective storage box is a small upgrade that can make daily makeup application look more even—and feel more sanitary. The sponge’s soft, cushiony material helps blend base products without dragging, while the box keeps the applicator separated from loose powder, lint, and “mystery residue” that tends to collect in makeup bags. Whether you’re getting ready at home or doing touchups on the go, the right routine (dampen, bounce, clean, fully dry) helps the sponge perform better and last longer.
What Makes a Non-Latex Sponge Different
Non-latex sponges are a practical option for anyone who prefers to avoid latex in beauty tools. Beyond material preference, performance is what most users notice first: a good non-latex sponge is designed to press product into the skin in a way that looks smoother and less streaky than swiping.
- Works across formulas: Great for liquid and cream products, and can be used with some powders when lightly damp.
- Soft, bouncy blending: The cushiony texture supports an even finish without harsh edges.
- Better diffusion with tapping: “Press and bounce” helps reduce visible lines—especially around the nose, chin, and under-eye area.
- More control by shape: Rounded sides handle cheeks and forehead quickly, while a smaller edge/point can target corners and under-eye blending.
Why the Storage Box Matters
A sponge can only stay “clean enough” if it’s stored thoughtfully. A dedicated box adds a layer of protection that a bare sponge in a cosmetic pouch simply doesn’t get.
- Barrier from debris: Helps block dust, powder kickback, and makeup bag lint when stored properly.
- Less squishing and transfer: The box helps prevent the sponge from being mashed against bottles, caps, and palettes that can transfer oils and pigments.
- Supports better hygiene habits: If the sponge is fully dry before the lid closes, the box helps limit musty odor and buildup.
- Smarter travel setup: It’s easier to keep a clean backup sponge separate from a used one when you have a dedicated container.
Quick Specs and Practical Benefits
If most of your routine is foundation, concealer, tinted moisturizer, and cream cheek products, a sponge can be the “final finish” tool that softens edges and reduces excess product sitting on the skin. Damp use typically looks more skin-like, while drier use can add coverage (with the tradeoff of using more product).
Use Cases and Application Tips
| Goal | How to Use the Sponge | Extra Tip |
|---|---|---|
| Sheer, natural base | Dampen, squeeze out excess water, then bounce product over skin | Apply in thin layers; build only where needed |
| Higher coverage | Use slightly damp or nearly dry and press product into areas needing more coverage | Work in sections to avoid streaks |
| Under-eye concealer | Use the smaller edge/point to tap from inner corner outward | Let concealer sit 10–20 seconds before blending |
| Cream blush/bronzer | Tap along edges to diffuse | Place product first, then blend only the perimeter to keep color intact |
| Setting with powder | Use a clean, lightly damp sponge to press powder into the T-zone | Avoid over-wetting when using powder to prevent patchiness |
How to Use It for the Most Even Finish
Technique matters more than pressure. The goal is to melt product into the skin without moving it around too aggressively.
- Prep first: Start with moisturized skin. Allow skincare and sunscreen to set so makeup layers don’t pill or separate.
- Dampen correctly: Wet the sponge, squeeze thoroughly, then towel-blot until it feels bouncy—not dripping. This helps prevent foundation from getting watery or patchy.
- Bounce, don’t swipe: Apply product to the back of your hand or directly to the face, then tap repeatedly. Swiping can lift coverage and emphasize texture.
- Go lighter on texture-prone areas: Around smile lines, pores, and under eyes, use smaller tapping motions and less pressure to avoid product collecting.
- Blend edges with a clean side: Along the jawline and hairline, use a clean portion of the sponge to soften transitions without adding more product.
Cleaning, Drying, and Box Hygiene
Regular cleaning improves both hygiene and finish. Old product buildup can make a sponge feel stiff and cause makeup to apply unevenly.
For general cosmetic safety and skin-friendly routines, it’s also helpful to reference guidance from the U.S. Food & Drug Administration (FDA) — Cosmetics and everyday skin care tips from the American Academy of Dermatology Association — Skin care basics.
Travel and Daily Storage Tips
Pairing Tools for a Full Base Routine
Shop In-Stock Tools
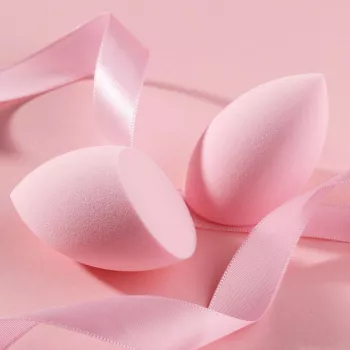
- Non-Latex Makeup Sponge with Box (portable storage for cleaner, more protected use)
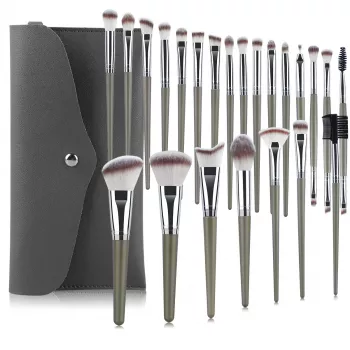
- 23-Piece Professional Makeup Brush Set (helpful for quick placement before finishing with a sponge)
FAQ
Should the sponge be used wet or dry?
Damp use usually gives a more natural, skin-like finish and tends to waste less product. Dry (or nearly dry) use can add coverage, but it may absorb more foundation; to dampen properly, wet it fully, squeeze it out well, then towel-blot until it’s bouncy and not dripping.
How often should a makeup sponge be replaced?
Replacement timing depends on how often it’s used and how well it’s cleaned, but many people swap sponges every 1–3 months with regular use. Replace sooner if it tears, develops persistent odor, shows signs of mold, or no longer cleans thoroughly.
Can the sponge be stored in the box right after washing?
It’s best to let the sponge air-dry completely before closing it in the box, since trapped moisture can lead to musty smells and buildup. Leave the box open while the sponge dries, and clean the box periodically as well.












Leave a comment